Video Conferencing Setup Guide: Camera, Audio, Lighting, and Bandwidth
Sarah Chen, CAP, on building a video conferencing setup that holds up: camera height and framing numbers, mic distance, the upload bandwidth Zoom and Teams actually need, and the settings to change once.
Updated
Most people build their remote setup in the wrong order. They buy a webcam first, because the camera is the part everyone can see, and they never touch the microphone, the upload speed, or the light. Then they spend a year on calls where colleagues ask them to repeat things.
I have spent several years as a Certified Administrative Professional coordinating workspaces and meeting logistics for distributed teams, which mostly means I have sat through several thousand video calls and diagnosed a lot of bad ones. The pattern is consistent. The setups that work are not the expensive ones. They are the ones where four cheap things are correct: the camera is at the right height, the microphone is the right distance away, there is light in front of the person rather than behind them, and there is enough upload bandwidth to carry the picture.
This guide covers all four with actual numbers, because the advice on this topic is unusually vague. You will find plenty of articles telling you to “make sure you have good lighting” and almost none telling you the color temperature, the distance, or the megabits. Everything below is a figure you can measure or a setting you can change. If you are building the whole workspace rather than just the call setup, pair this with our home office setup walkthrough and the ergonomic desk setup guide.
Fix These in Order: Audio, Bandwidth, Light, Camera
Before any of the specifics, the ordering matters, and it is the reverse of how most people shop.
Audio is first. People will sit through a soft, grainy picture for an hour without complaint. They will not sit through an echo, a crackle, or a voice that keeps dropping its first syllable. Bad audio makes a meeting genuinely harder to follow, because listeners spend effort decoding words instead of thinking about content, and that cost compounds across everyone on the call. Every study of meeting fatigue points at listening effort, not picture quality.
Bandwidth is second, because it silently caps everything else. A 4K webcam on a connection that cannot carry 1080p is a 4K webcam transmitting a compressed, smeared 540p image. No amount of hardware fixes an upload ceiling.
Light is third. A cheap sensor in good light beats an expensive sensor in bad light, every time and not by a small margin. Webcam sensors are physically tiny, and their only defense against a dim room is to crank gain, which produces noise, and to drop the frame rate, which produces stutter.
The camera itself is fourth, and honestly the least important of the four as long as it does real 1080p. This is the opposite of the shopping order most people follow.
Camera Position and Framing
Camera position is free and almost everyone gets it wrong, which makes it the highest-return fix in this entire guide.
Height: at eye level, or slightly above, and never below. A lens below your eyeline points up at your chin, your nostrils, and your ceiling, an angle that reads as unflattering and faintly aggressive regardless of what your face is doing. Slightly above eye level is the most forgiving position. There is an upper limit though, and the useful rule of thumb is to keep the lens no higher than your hairline. Above that you are looking down into the camera and the meeting is looking up at you, which reads just as oddly in the other direction.
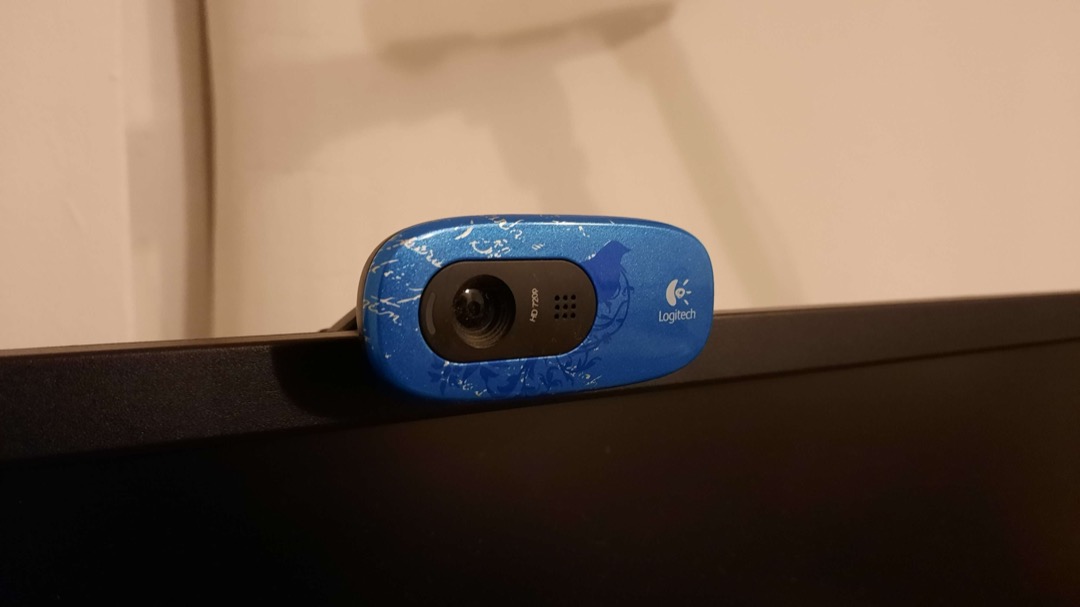
This is the specific reason laptop cameras look bad. A built-in webcam sits at keyboard height, which is roughly a foot below where your eyes are. Nothing about the sensor is the problem; the angle is. Putting the laptop on a laptop stand with an external keyboard raises the lens to eye level and fixes the picture and your neck posture in the same move. If you are already running an external display, a dedicated webcam clipped to the top of the monitor gets you there directly, and the height then depends on where the monitor sits, which our monitor setup guide covers in detail.
Distance: about 24 to 30 inches, or roughly arm’s length. Closer than that and a wide-angle webcam lens distorts your features, exaggerating whatever is nearest to it. Farther back and you shrink into the frame and lose the eye contact that makes a call feel like a conversation.
Framing: mid-chest up, with a little headroom. Aim for about five to ten percent of the frame height as empty space above your head. Too much headroom leaves you floating at the bottom of a mostly-empty rectangle; none at all crops your scalp. Put your eyes roughly a third of the way down the frame rather than in the middle, which is the same rule-of-thirds instinct portrait photographers use, and which is why properly framed video looks composed rather than accidental.
Look at the lens, not the faces. This is a habit rather than a setting, and it is worth building. When you speak, glance at the camera rather than at the grid of participants; when you listen, watch the screen normally. Nobody can maintain lens contact for a full hour and it looks strange if you try, but doing it while you are the one talking is what produces the impression of eye contact.
Audio: The Half Nobody Fixes
Audio problems come in two flavors, and they have different fixes: you are too far from the microphone, or your room is coming through with you.
Distance. Shure’s conferencing guidance puts the microphone eight to sixteen inches from the mouth, slightly off center, and aimed just below the mouth rather than directly at it. Each part of that has a reason. Off center keeps plosives, the puff of air on p and b sounds, from hitting the capsule head-on and thumping. Aimed below the mouth reduces breath noise. And the distance range exists because both ends of it fail: closer than about six inches, a directional microphone produces proximity effect, a bass lift in the 200 to 600 Hz range that makes voices sound boomy and indistinct, while beyond about sixteen inches the microphone starts picking up more room than person.
That last point is what makes laptop microphones so poor. A built-in array sits two feet away, below your mouth, next to a cooling fan and directly under your typing hands. It hears the room, the keyboard, and the fan roughly as well as it hears you.
The room. Hard parallel surfaces, bare walls, a window, a wooden floor and a desk all reflect sound, and a microphone at distance captures those reflections as a hollow, cave-like quality. You do not need acoustic treatment for a home office. Soft mass in the room is enough: a rug, curtains, a bookshelf with actual books on it, an upholstered chair. A corner with a curtain and a rug sounds dramatically better than a corner with neither.
What to buy. For meetings specifically, a headset usually beats a standalone microphone, and the reason is the earpiece rather than the boom. A headset keeps other people’s voices out of your room, which prevents the feedback loop where your speakers leak into your microphone and force the software into aggressive echo cancellation that clips the start of every sentence you say. It also fixes your mouth-to-mic distance permanently, so your level does not change when you turn to look at a second screen. Our USB headset roundup covers the models with boom mics worth having. If you work in a genuinely noisy or shared space, prioritize isolation over microphone specs and start with noise-canceling headphones built for office use instead.
A standalone USB microphone sounds better in absolute terms and keeps a headset off your head on camera, which is why presenters and webinar hosts use them. It only works if you also wear headphones and stay disciplined about staying within that eight-to-sixteen-inch window.
Mute is a technique, not a courtesy. Learn your platform’s push-to-talk key (holding the spacebar temporarily unmutes in Zoom) and stay muted by default in any meeting with more than about four people. Every unmuted participant adds their room’s noise floor to the mix, and the effect is cumulative.
Bandwidth: The Number Your Plan Doesn’t Advertise
This is the gap in almost every guide on this topic, and it explains most mysterious call quality problems.
Your video is upload traffic. Consumer internet plans are sold on download speed because that is what streaming and browsing consume, and they are frequently asymmetric by a factor of ten or more. A 300 down / 20 up cable plan is common, and the 20 is the only half that carries your face. When you look pixelated on a plan advertised as fast, this is usually why.
Here are the figures the three major platforms actually publish:
| Platform | Scenario | Upload | Download |
|---|---|---|---|
| Zoom | 1:1, 720p | 1.2 Mbps | 1.2 Mbps |
| Zoom | 1:1, 1080p | 3.8 Mbps | 3.0 Mbps |
| Zoom | Group, 720p | 2.6 Mbps | 1.8 Mbps |
| Zoom | Group, 1080p | 3.8 Mbps | 3.0 Mbps |
| Zoom | Audio only (VoIP) | 60–80 kbps | 60–80 kbps |
| Microsoft Teams | 1:1 video, recommended | 1.5 Mbps | 1.5 Mbps |
| Microsoft Teams | Meeting video, recommended | 2.5 Mbps | 4.0 Mbps |
| Microsoft Teams | Audio, recommended | 58 kbps | 58 kbps |
| Microsoft Teams | Meeting screen share | 2.5 Mbps | 2.5 Mbps |
| Google Meet | 720p | up to 1.7 Mbps | up to 1.7 Mbps |
| Google Meet | 1080p | up to 3.6 Mbps | up to 3.6 Mbps |
| Google Meet | Group meeting | 250 kbps and up | up to 4.0 Mbps |
Two things fall out of that table. First, the requirements are modest: no platform asks for more than about 4 Mbps in either direction, and Teams states plainly that it can deliver HD under 1.5 Mbps. Second, audio costs almost nothing, which is why turning your camera off is the correct emergency move on a bad connection. You drop from megabits to kilobits instantly.
A practical target: 10 Mbps of real upload capacity. That leaves headroom for a cloud backup running in the background, someone else in the house on their own call, and the general reality that advertised speeds are ceilings rather than guarantees. Test yours and read only the upload figure.
Three fixes that beat upgrading your plan. Use a wired connection if you can; Ethernet removes jitter and packet loss, which degrade calls more visibly than raw speed does. If Wi-Fi is the only option, get on the 5 GHz band rather than 2.4 GHz, which is congested by every other consumer device in range. And if your employer routes you through a VPN, ask whether meeting traffic can bypass it. Microsoft explicitly recommends split-tunnel VPN configurations for Teams, because VPNs are not built for real-time media and add a layer of encryption and routing detours to traffic that is already encrypted. A USB-C docking station with an Ethernet port is the tidiest way to get a laptop onto a wired connection without adding a second cable to the desk.
Lighting, in Ninety Seconds
Lighting deserves its own guide and has one: our home office lighting guide covers lux targets, color temperature, CRI, and full three-point lighting for calls. For the purposes of a call setup, three rules cover the majority of the benefit.
Light comes from in front of you, not behind you. A window or a lamp behind you turns you into a silhouette, because the camera exposes for the brightest thing in the frame and that is not your face. If a window is your light source, face it or sit side-on to it. Never back onto it.
Off to one side and slightly above. A light directly in front flattens your features; a light directly overhead drops shadows into your eye sockets. Roughly 30 to 45 degrees off center and a little above eye level gives a face natural dimension. A desk lamp bounced off a nearby wall works well because the wall enlarges and softens the source.
Cooler and neutral, not warm. For video specifically, light in the 5000K to 6000K range renders skin more accurately and blends with any daylight coming through a window. Warm 2700K light is pleasant to work under in the evening and makes you look orange on camera. If your desk has no room for a lamp, a monitor light bar sits above the screen and throws light forward onto your face without putting any glare on the display.
Background, and What It Says
Your background is on screen for the entire meeting, so it is worth thirty seconds of thought.
Real and tidy beats virtual. Segmentation software works by guessing your outline dozens of times a second, and it guesses worst against busy, high-contrast scenes; a plain wall is the easiest thing for it to work with and also the easiest thing to look at. If you use software, prefer blur to a full virtual background: blur is cheaper on your processor, so it costs you fewer frames per second on an older machine, and it fails gracefully rather than making your hand disappear.
Check what is actually in frame before you need to, not during the call. The usual offenders are a doorway with household traffic behind it, laundry, a whiteboard with something confidential on it, and a bookshelf whose spines are all legible in HD. A little depth behind you is good, because it makes the picture read as three-dimensional rather than as a passport photo, so a couple of feet of space between you and the wall helps. Keeping the visible slice of desk clear with a desk organizer does more for the impression than any camera upgrade.
On clothing: avoid tight stripes and small checks, which produce moiré shimmer when the sensor cannot resolve the pattern, and avoid anything close in color to your wall or your virtual background. Solid mid-tone colors read best.
Platform Settings Worth Changing Once
Each of these is a one-time change that most people never make.
Enable HD. Zoom does not always send 1080p by default; the setting lives in the video preferences and on some account types has to be enabled at the account level first. Teams and Meet negotiate resolution automatically based on available bandwidth, so there is less to change, but both are worth checking.
Turn on low-light adjustment before you buy a light. Zoom’s low-light setting and the equivalent processing in most conferencing software brightens a dim image at the cost of noise. It is not a substitute for a lamp, but it is free and it helps.
Know what noise suppression is doing. Aggressive noise suppression on all three platforms works by treating anything that is not recognizably speech as noise, which is why it sometimes clips your first word or mangles a laugh. On a quiet connection, dialing it down or enabling the original-sound option produces a more natural voice. In a noisy one, leave it high.
Use the preview screen. Zoom, Teams, and Meet all show you a self-view before you join. Use it as a checklist rather than a mirror: face lit from the front, eyes on the upper third, nothing regrettable behind you, correct microphone and camera selected. Ten seconds, every time.
Set the right input devices. Machines with several audio devices connected routinely default to the wrong one, which is the actual cause of most “you sound far away” moments. Select your headset explicitly for both microphone and speaker rather than trusting the default.
The Numbers, in One Place
| What | Target |
|---|---|
| Camera height | Eye level to hairline, never below |
| Camera distance | 24 to 30 inches (arm’s length) |
| Framing | Mid-chest up, 5–10% headroom, eyes on upper third |
| Microphone distance | 8 to 16 inches, slightly off center, aimed below the mouth |
| Minimum useful upload | 10 Mbps real capacity |
| Zoom 1080p | 3.8 Mbps up / 3.0 Mbps down |
| Teams meeting video | 2.5 Mbps up / 4.0 Mbps down |
| Google Meet 1080p | up to 3.6 Mbps each way |
| Key light angle | 30 to 45 degrees off center, slightly above eye level |
| Light color temperature | 5000K to 6000K for video |
| Wi-Fi band | 5 GHz, or wired Ethernet |
Putting It Together
If you do nothing else, do these four things this week. Raise the camera to eye level, which costs nothing and fixes the most visible problem. Get a microphone within sixteen inches of your mouth, which for most people means a headset. Put a light in front of you rather than behind you. Then test your upload speed and, if it is under about 10 Mbps, plug in an Ethernet cable before you consider buying anything.
That is the whole setup. Everything past it is refinement: a better sensor, a softer key light, a treated corner. Those are worth having, but they are improvements on a setup that already works, and the difference between a bad call and a good one is almost entirely in the four basics. If you are still assembling the wider workspace, the work-from-home essentials checklist covers what else belongs on the desk, and the ergonomic desk setup guide covers sitting at it for eight hours without paying for it later.
Frequently Asked Questions
What internet speed do I need for video calls?
Where should I position my camera for video calls?
How far should my microphone be from my mouth?
Is a headset or a standalone microphone better for video calls?
Should I use a virtual background or blur?
Related Articles
Complete Guide to Choosing the Right Monitor Setup: Single, Dual, Ultrawide, and How to Match Screens to Your Work
office-technology
Home Office Lighting Guide: Reduce Eye Strain and Look Better on Video Calls
desk-setup-furniture
7 Best Noise Canceling Headphones for Office of 2026
office-technology
7 Best USB Headsets of 2026
office-technology
10 Best Monitor Light Bars of 2026
office-technology
About the Reviewer

Sarah Chen, CAP, PMP
B.A. Business Administration, UCLA
Sarah Chen spent 10 years in office management and operations at Fortune 500 companies before founding DeskRated in 2026. After managing supply budgets for teams of 50+ people and testing thousands of products through daily use, she started writing the honest, no-fluff supply reviews that office professionals actually need. Sarah holds both CAP and PMP certifications and is based in Los Angeles.